


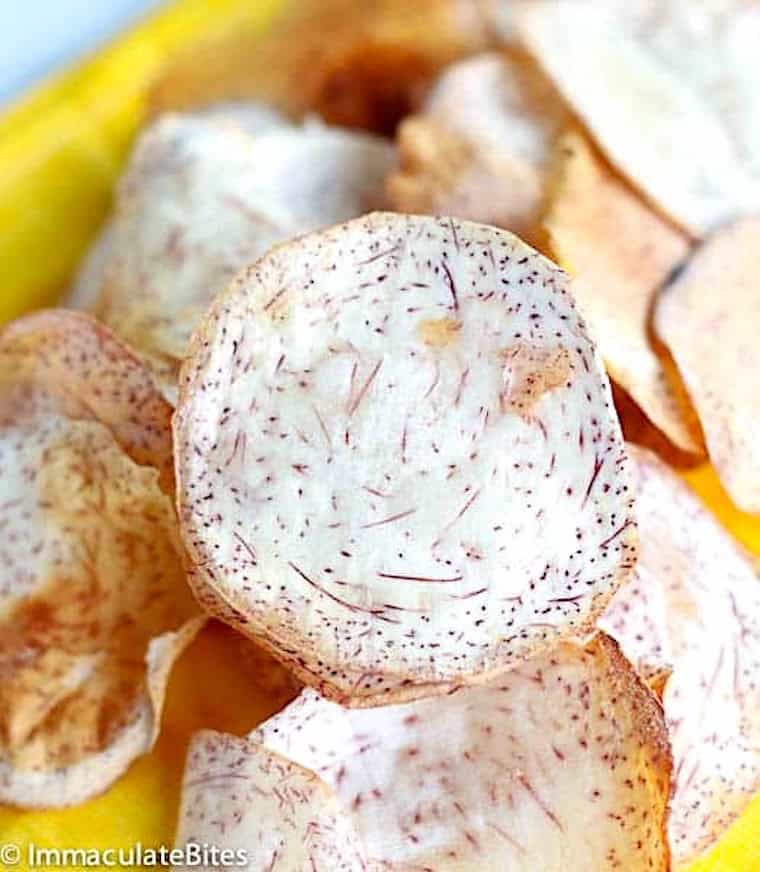
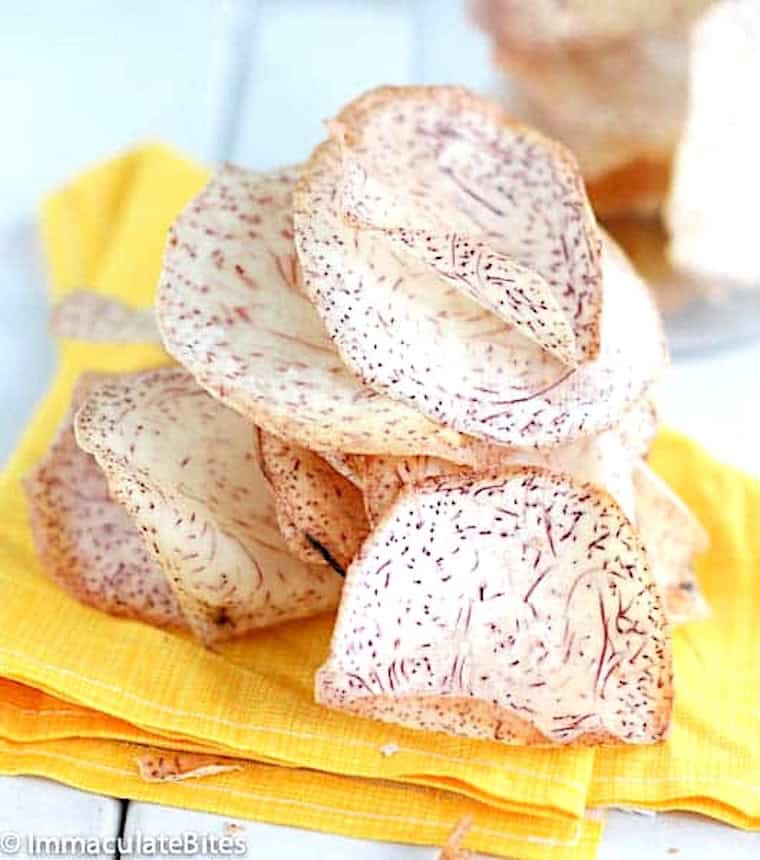
Taro chips make an excellent replacement for the same old potato chips. Crunchy and addictive, they go great with almost any dip. So transport yourself to the tropics with these taro chips and excite your taste buds.
Taro has a special place in my heart because I grew up enjoying it. I had never thought of making chips out of them until people started making chips out of more than potatoes.
Of course, I had to experiment with different ways to make them. This easy malanga or taro chip recipe was what resulted.
What Is Taro?
So what is taro, anyway? Let me do the honor of explaining. Depending on your country, this starchy root vegetable is also called eddo, kalo, macabo, dasheen, malanga, otoy, otoe, and cocoyam.
The paleo diet has made them popular because they’re supposed to be healthier than potatoes. You’ve probably seen them in supermarkets and ethnic stores. It enjoys high dietary fiber and significant levels of vitamins and minerals.
In West Africa, we boil or roast taro root and sometimes mash it. We serve it with vegetables, but rarely fry it. That’s because it can make the back of your throat itch if not cooked properly. So make sure you’re not allergic to it before trying it out.
Why Taro Chips Work
In Hawaii, the Caribbean, and Polynesian islands, taro chips are often enjoyed as a flavorful snack. Rumor has it that the Hawaiians are the first to turn taro into chips. So, if you need something sturdy to scoop dip, this is it.
How to Make Taro Chips
Prep Taro
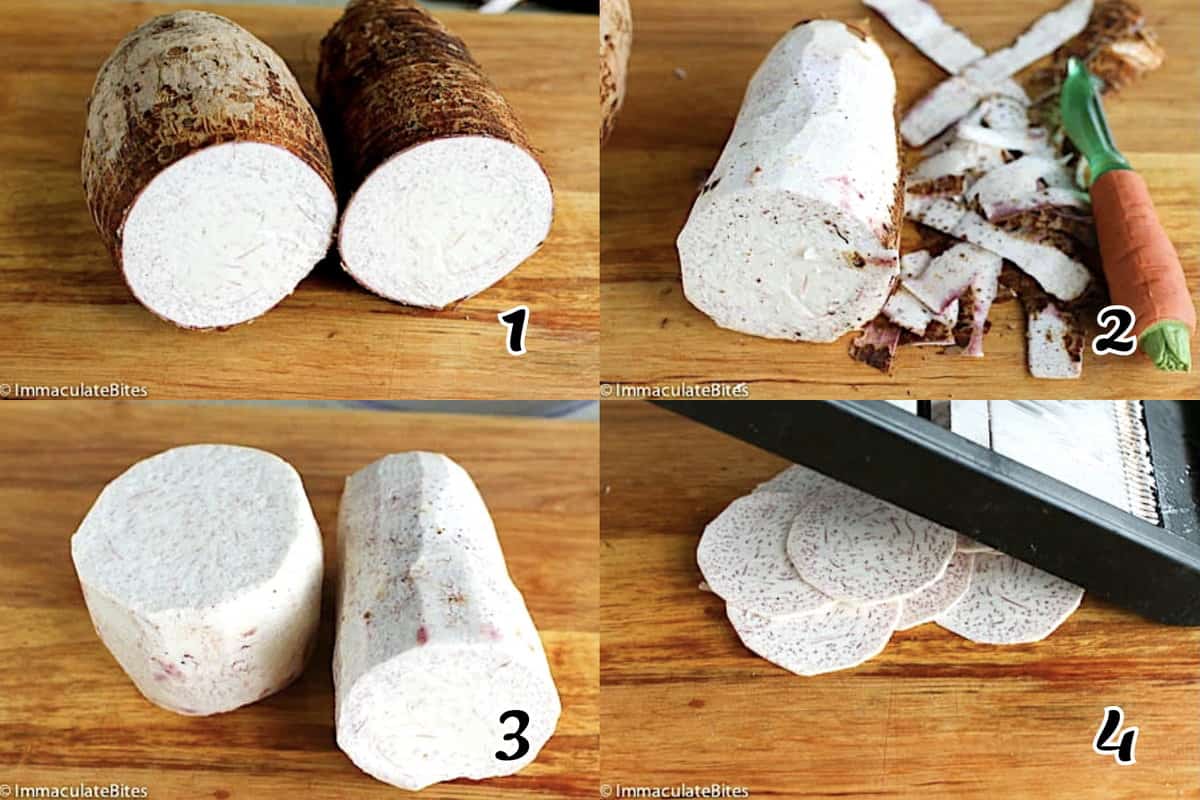
- Cut taro into 2-4 chunks for easier peeling. (Photo 1)
- Peel the taro with a sharp knife away from your body, carefully drawing the knife along the taro. Please be careful not to remove too much of the flesh. A potato peeler works for small taro roots. (Photos 2-3)
- Look for bad spots, such as bruising and discoloration, as you peel. Remove them with the tip of the knife.
- Wash immediately to prevent them from turning brown. Soak them in cool water until ready to cook, or refrigerate them in the water for up to 24 hours.
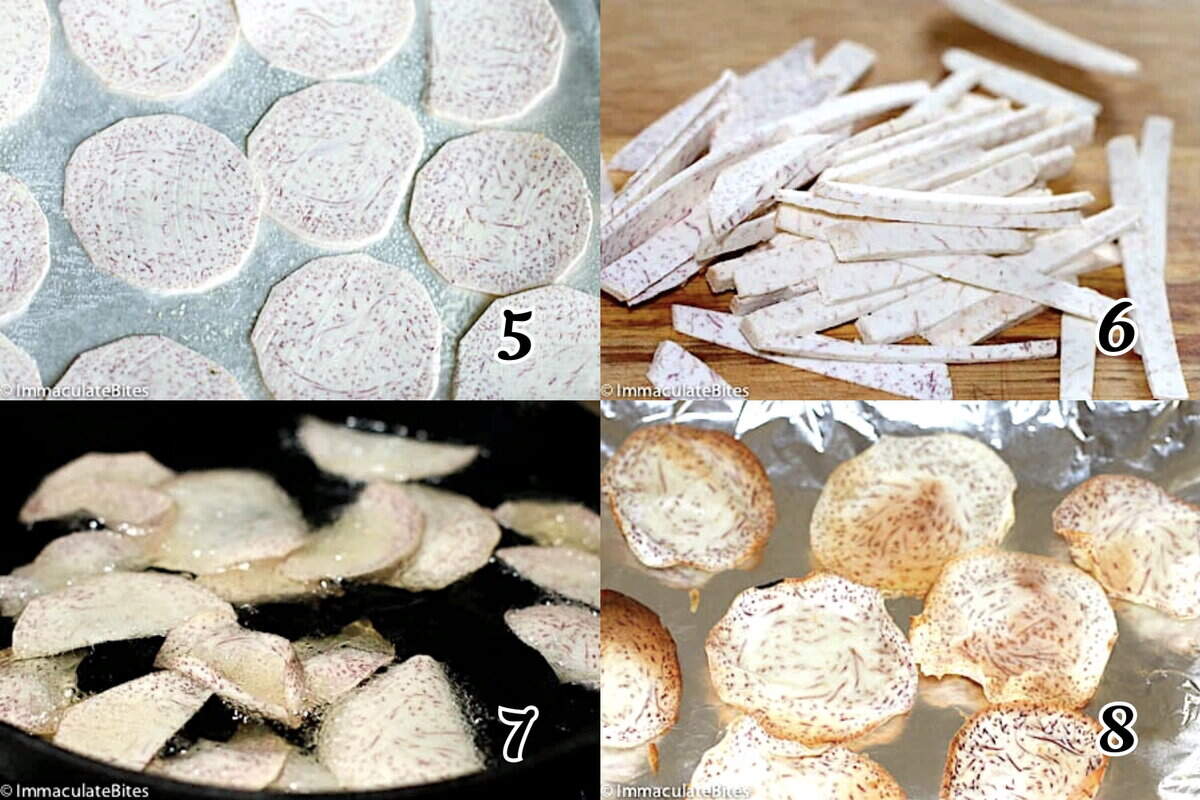
- Slice the taro thinly with a mandolin for consistent results—a peeler can also work. Season with garlic salt, Cajun seasoning, or salt. Or cut them for taro fries. Then, choose your cooking method. (Photos 4-6)
Baked Taro Chips
- Preheat the oven to 350°F (180℃). Line the baking sheet with foil and spray it with cooking spray.
- Bake – Arrange the seasoned taro slices in a single layer on your prepared baking sheet. Spray them lightly with oil, and bake for about 20 minutes or until golden brown and crunchy. Flip the slices after 10 minutes. (Photo 8)
- Serve warm or at room temperature. Store in a sealed container.
Fried Taro Chips
- Heat a large cast-iron skillet with ½ inch of oil over medium-high heat. You want it hot but not smoking. Heat the oil to 350℉ (180℃) if using a deep fryer.
- Fry the taro slices in batches, turning once, until golden brown, for about 5 minutes. Don’t overcrowd the pan, or the taro may absorb excess oil and become greasy. (Photo 7)
- Serve – Transfer the taro chips to a paper-towel-lined plate with a slotted spoon to drain. Sprinkle with salt and enjoy.
Tips and Notes
- Soak taro in vinegar before peeling to prevent your hands from itching.
- Different types of taro are available, but they all work. So use whatever you have.
- Taro root oxidizes quickly, so put your peeled taro in water immediately.
- Slice the taro uniformly in thickness to ensure even cooking.
- Asian, Latin, and African markets usually have taro if you can’t find it in your local supermarket.
- You can slice taro with a mandolin, peeler, or sharp knife. Just make sure to cut them thin enough to cook through and become crispy instead of hard. You may have to divide the taro into four pieces so you can hold it.
- Soaking the taro in water for at least 4 hours or overnight will eliminate some of the throat itch if it affects you.
- Store leftover taro chips in an airtight container for a day or two.

What to Dip Taro Chips Into
More Addictive Snack Recipes
This blog post was originally published in July 2014 and has been updated with additional tips and gorgeous photos.
Leave a Reply